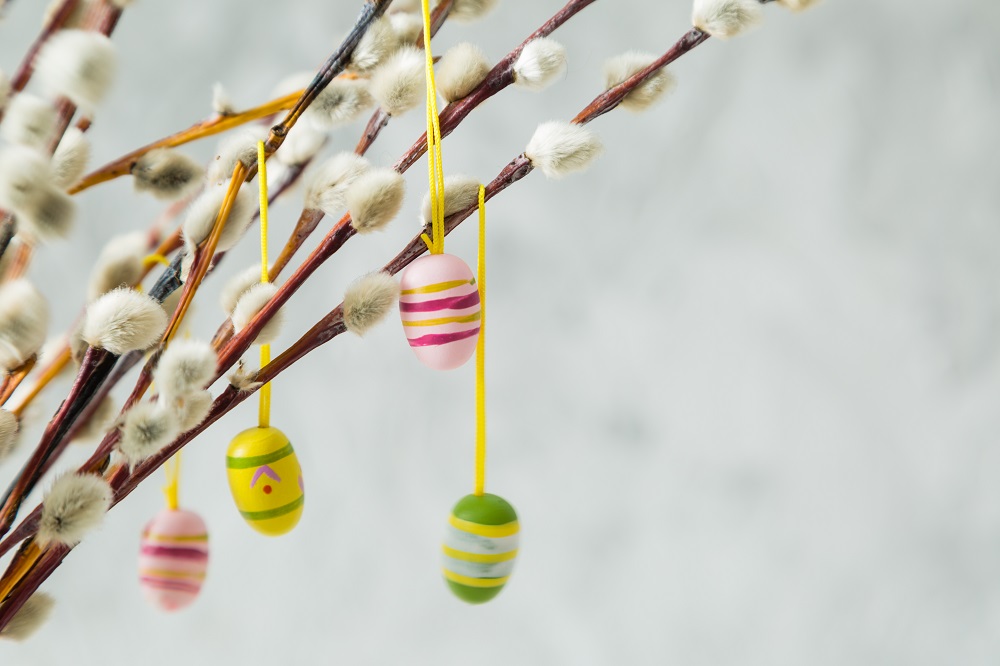
If you’re looking for a simple arts and crafts activity to do with your child, that won’t result in another papery, cardboard mess stuck onto your fridge look no further. These little decorations make a lovely tribute to Christmas time while keeping with a Springtime and Easter feel.
Easter tree
Simply get a good looking branch from outside. Make it a sturdy one, with a few strong branches (these will hold your eggs!).
Paint it white, or another pastel shade and leave to dry standing up in a vase.
Place pebbles, or sand at the bottom to give your tree some extra sturdiness.
Salt dough Easter eggs
For the dough:
1 cup of flour
½ cup salt
½ cup of water
Equipment:
Rolling pin
Ruler
Egg shaped cookie cutter
Spatula
Straw
Baking sheet, with greaseproof paper
Acrylic paint
Clear nail varnish
Ribbon
Method:
Preheat your oven to 120 degrees Celsius. Stir together the flour, salt and water until a dough forms. Knead the dough a couple of times to make a smooth finish. Rollit out to ¼ inch thick, and cut into egg shapes. Place the cut-outs onto your baking tray (and greaseproof paper) and cut a hole out in the top of the egg using your straw. Bake for about two hours.
Once the eggs are thoroughly baked, dried out and cooled it’s decorating time! Spray paint will be a quick way to get this done, but if you want your child to help use acrylic paints and regular brushes.
Top tip: Paint pens will create some really nice, fine details on your egg like neat zig-zags, dots, and swirls.
When the paint is dry, cover with clear nail varnish to give a glossy finish. Loop ribbon through the top of your egg and hang on your Easter tree and voila! It’s like Spring has taken root in your home.
maternity & infant
Originally posted 2018-03-20 10:21:28.

